GiveLively: How to Get Started with Free Donation Forms
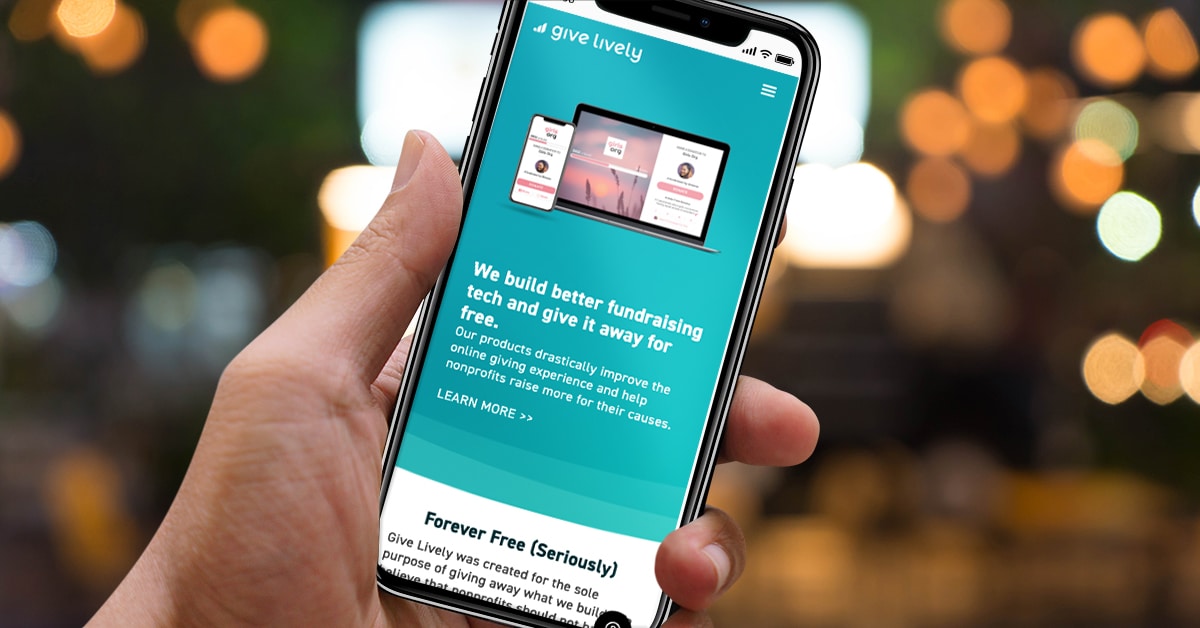
GiveLively is a free digital fundraising platform that provides some seriously powerful tools for nonprofits. It has emerged as a strong contender for small and mid-sized nonprofits, and the good news is that it’s easy to get started and add GiveLively tools to your existing website.
By: Ed Harris · Published: July 1, 2020 · updated: June 28, 2024

GiveLively is a free digital fundraising platform that provides some seriously powerful tools for nonprofits. It has emerged as a strong contender for small and mid-sized nonprofits, and the good news is that it’s easy to get started and add GiveLively tools to your existing website.
In this article I’ll share a few tips to consider as you get started with GiveLively, that will help supplement the documentation in the official resource hub.
A quick disclaimer: Blue Hills Digital has no relationship or affiliation with GiveLively! The information in this article is based on my experience setting up GiveLively donation processing for several small nonprofit clients.
GiveLively Use Case: Upgrading from a PayPal Donate Button
Let’s get started with some notes about a common nonprofit use-case for GiveLively’s platform. For many small nonprofit organizations that have established a website and online presence in the past 10-15 years, the easiest approach to accepting online donations was to create a PayPal account and add a PayPal donation button to the website.
You’ve probably made donations using these buttons yourself. Perhaps you work or volunteer for a nonprofit that still uses a PayPal donation button. There are some good reasons for using a PayPal button (or at least there were until a few years ago):
- Many users are familiar with, and trust PayPal
- There are no additional fees for the nonprofit, aside from the percentage-based transaction fee
- Donors can make recurring donations. Also, because donors use PayPal for other purposes, they are more likely to keep their payment information current by updating credit card or bank account information.
However, there are some real disadvantages to using PayPal’s basic donation button functionality to accept online donations:
- You have little control over the branding, layout, or messaging on the donation page.
- Your users get redirected away from your website to make their donation, and then are redirected back again afterwards, which can be disorienting for users that haven’t experienced that process before.
- It’s not possible to send a customized email acknowledgement from your nonprofit — the user will just receive a standard PayPal receipt email.
GiveLively solves for these three disadvantages, and also adds a bunch of additional, powerful fundraising tools that nonprofits can start using as they grow. But without even getting into the additional tools, there are three powerful benefits that can be realized just by implementing GiveLively’s core donation page features.
Sign up for GiveLively and Connect to Stripe
Before you can start unlocking these advantages, you’ll need to go through GiveLively’s application process. There are a few steps involved, and it can take 1-2 weeks to get full approval, so just be aware of the timeline!
At the time of writing, you’ll need to gather the following information to apply:
- Your 501(c)(3) nonprofit organization’s EIN
- A profile for your organization on the Guidestar website
- Log in information for your Stripe account, if your organization already has one. If you don’t have an account with Stripe, the application process will walk you through the process of creating one.
Read more and start your GiveLively application here.
Important: As with any donation processor, make sure you understand how transaction fees work before signing up with GiveLively! While there are no fees to use the GiveLively platform, the payment processors still charge transaction fees. Learn more about these fees here.
Once your GiveLively membership is approved, you’ll receive the information needed to log in to your account and start customizing your profile.
Donation Page Branding and Message
Once you have access to your nonprofit’s GiveLively dashboard, start by customizing your “Core Profile.”
On the “Basic Information” and “Logo and Images” tabs, you can customize your main donation page to match the rest of your organization’s website. You’ll need:
- A logo image — I’d suggest choosing the option to display the logo above the donation form
- A 300-character mission statement — this is the place to explain how donations will advance your organization’s work!
- A background image — ideally this is a photo that illustrates your organization’s work
- The hex-code for the primary color used on your website. If you’re not sure of the color code, try uploading your logo image to this website and then clicking on an area containing the color you need. The six-character hex code will be displayed, and you can copy/paste into GiveLively’s background color selector.
- A social sharing image. Ideally this image will be 1200 pixels wide and 630 pixels high, so it displays predictably as a link preview image on platforms like Facebook. If you need to crop a photo, you can use a free online image editing tool like Pixlr.
Choose Donation Amounts
On the “Donation Amounts and Impact Stories” tab, you can set the default donation amounts users can choose from.
Optionally, you can use this section to add “impact stories” — this allows you to share with users what a donation of a certain amount will allow you to achieve. The impact stories functionality can be toggled on and off easily.
Customize the Donation Thank You Message
GiveLively allows you to customize the thank message delivered by email immediately after a user makes a donation — something PayPal does not allow you to do.
Use this opportunity to deliver a personal message from a staff member — perhaps your Executive Director or Development Director.
Pro-tip: use the thank you message to encourage donors to follow your organization on social media, or ask them to share with their friends that they made a donation in support of your work. This thank you email will arrive right after they’ve made a donation, so this is an ideal time to ask them to spread and enthusiastic message about your nonprofit’s work.
Connect the Donation Form to Your Website
Depending on your nonprofit’s website configuration, you have two options for sharing your new, on-brand GiveLively donation form:
1. Use the built-in GiveLively Profile URL
This URL is displayed on your dashboard and will look like this:
https://secure.givelively.org/donate/YOUR-NONPROFIT-NAME
If you use this option, you will need to create navigation links and buttons on your website that point to this URL, to allow users to make a donation.
Since these links will be taking users to a page that is not part of your website, you may want to select the option to open this link in a new tab.
2. Embed a GiveLively Donation Form Widget on your Website
Even better, why not allow your users to make a donation without leaving your website?
Click on “Widgets” in the GiveLively dashboard menu, and you will see a choice of two widget options:
- A simple widget that prompts uses to enter an amount and frequency and then opens a modal window to complete the donation
- A “branded donation widget” that includes all of the same information visible on the GiveLively donation page
I recommend experimenting with both – your choice of widget will depend where on your website you are adding the donation form.
For example, you may want to include the full branded donation widget on a dedicated donation page, and also include the simple widget in the footer of every page on the website.
Whichever option you use, the “Get Embed Code” button will reveal the code snippet you will need to copy and paste into your website. Here are the steps you’ll need to follow to add the code snippet to two common website platforms: Squarespace and WordPress.
Add a GiveLively Donation Form to a Squarespace Website
Note: this involves adding an iframe to a Code block in Squarespace which is only possible on the Business level plan or higher. Find more information about the Squarespace Code block here.
- In your Squarespace account, create a new page or start editing the page where you want to add the donation form widget.
- Click the droplet icon to insert a new content block, and choose a Code block from the menu.
- In a new tab, open the GiveLively Widgets page, and choose either the simple or branded widget.
- Click the “Get Embed Code” button and copy the code snippet to your clipboard.
- Back on your Squarespace website, paste the entire code snippet into the Code block, and click “apply”
- Add any headings and additional content you need above or below the code block.
- Save your changes and exit out of editing mode.
Add a GiveLively Donation Form to WordPress
Note: if your WordPress site is not self-hosted but uses WordPress.com, you’ll need to be on a “Business” plan or higher to add custom code snippets. Find more information about adding code snippets on WordPress.com sites here.
- From your WordPress dashboard, create a new page or start editing the page where you want to add the vote.org tools.
- Click the plus icon to insert a new content block, and choose a Custom HTML block from the menu.
- In a new tab, open the GiveLively Widgets page, and choose either the simple or branded widget.
- Click the “Get Embed Code” button and copy the code snippet to your clipboard.
- Back on your WordPress website, paste the entire code snippet into the Custom HTML block.
- Add any headings and additional content you need above or below the code block.
- Preview your page before publishing!
There’s a lot more power to GiveLively than is covered here, including:
- dedicated donation pages for specific campaigns
- peer-to-peer fundraising tools
- text-to-donate functionality.
Keep exploring to make sure you get the most out of the platform!
The information presented here is based on our experience of using GiveLively’s platform at the time of writing. We cannot make any guarantees about the delivery of GiveLively’s services now or in the future! If you have questions, reach out to their support team here.
Table of Contents


